Worldwide Sites
You have been detected as being from . Where applicable, you can see country-specific product information, offers, and pricing.
Keyboard ALT + g to toggle grid overlay
Render magic, straight from Cinema 4D
Built to feel like a natural part of C4D, Arnold handles your highest quality images with ease
What is Arnold?
Arnold is an advanced Monte Carlo ray tracing renderer, built to handle your most complex projects. For motion graphics artists and studios worldwide, it offers a powerful, yet easy-to-use rendering experience that delivers beautiful and predictable results, and lets you focus on being creative, rather than spending hours going through settings.
Arnold is an advanced Monte Carlo ray tracing renderer, built to handle your most complex projects.
Working with:
Why choose Arnold for Cinema 4D?
Like you never left C4D
The C4D plugin (C4DtoA) is built to feel like a natural part of Cinema 4D. An artist-friendly UI with simple and intuitive controls means less clicks to get the look you’re after.
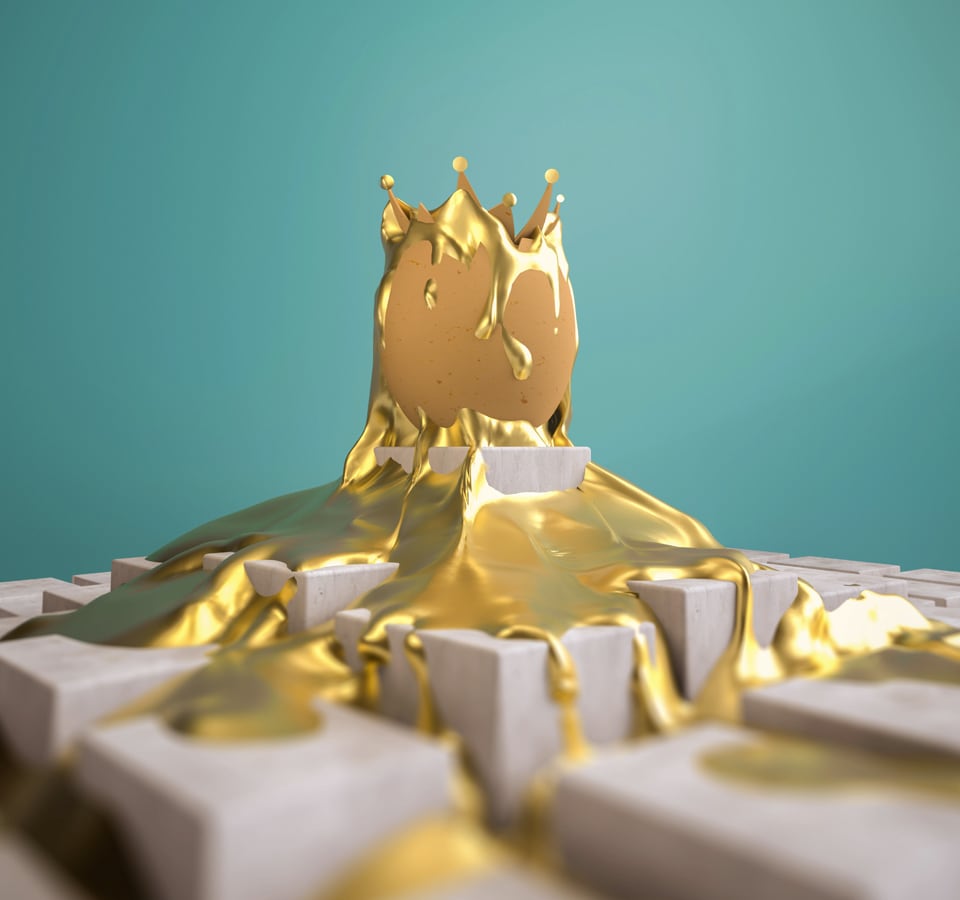
Image courtesy of Nidia Dias
Render with confidence
C4DtoA is intuitive enough for beginners but powerful enough to handle your most complex characters, scenes, and lighting challenges.
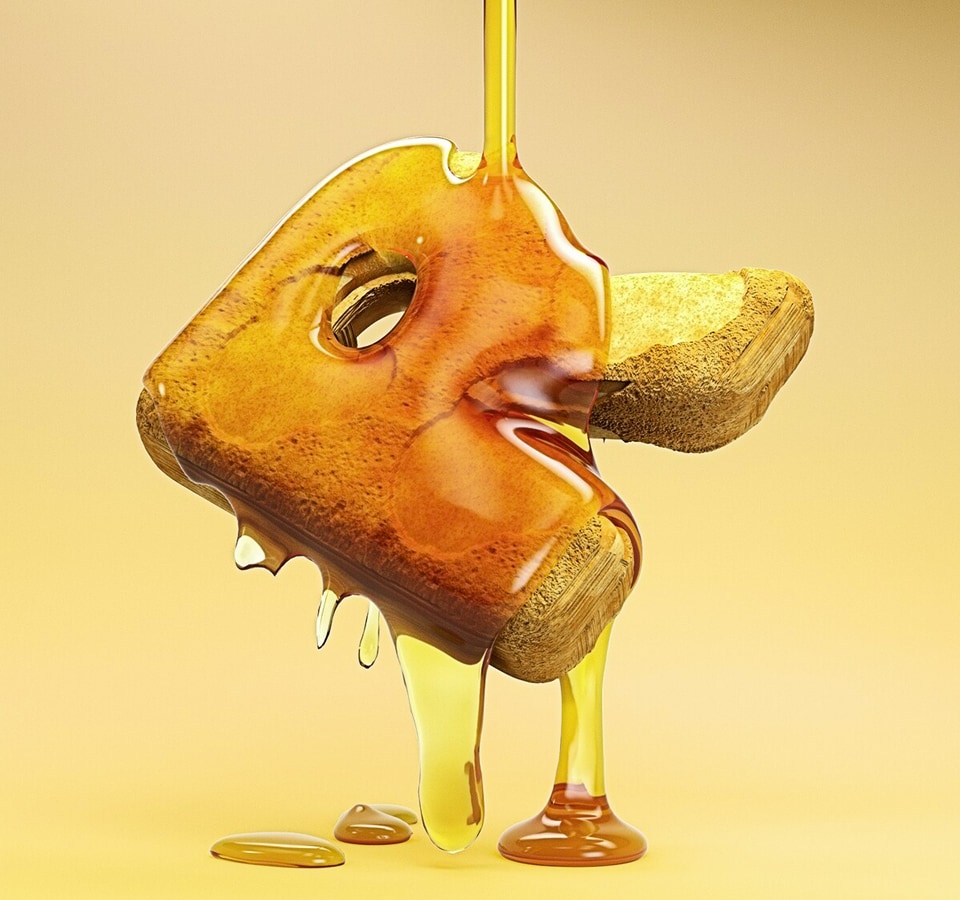
Image courtesy of Mariano Ramon
CPU or GPU? We won’t make you choose.
Use GPU rendering to speed up interactive look development and lighting. Choose optimized CPU rendering with lower cost hardware and the option to reliably scale to the cloud.
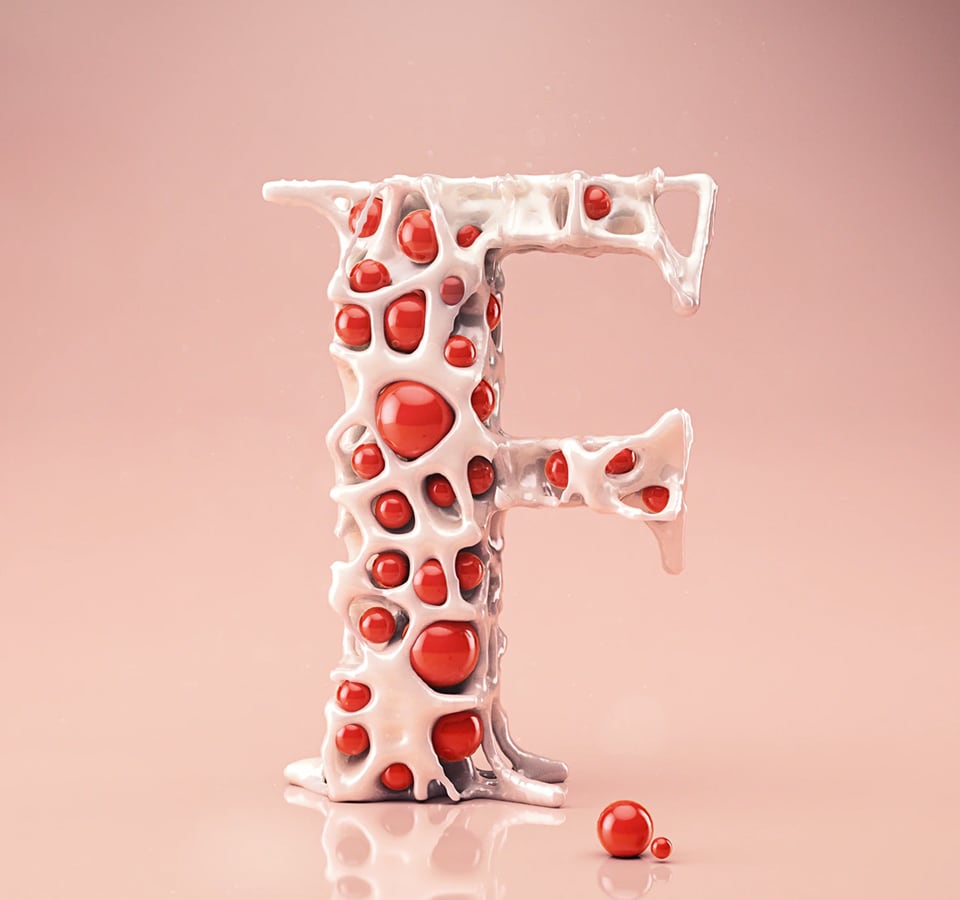
Image courtesy of Mariano Ramon
Open and extensible architecture
Get the scalability of an open architecture that makes it easy to integrate Arnold into your pipeline and adapt to project needs. Create custom shaders, cameras, light filters, output drivers and shaders.
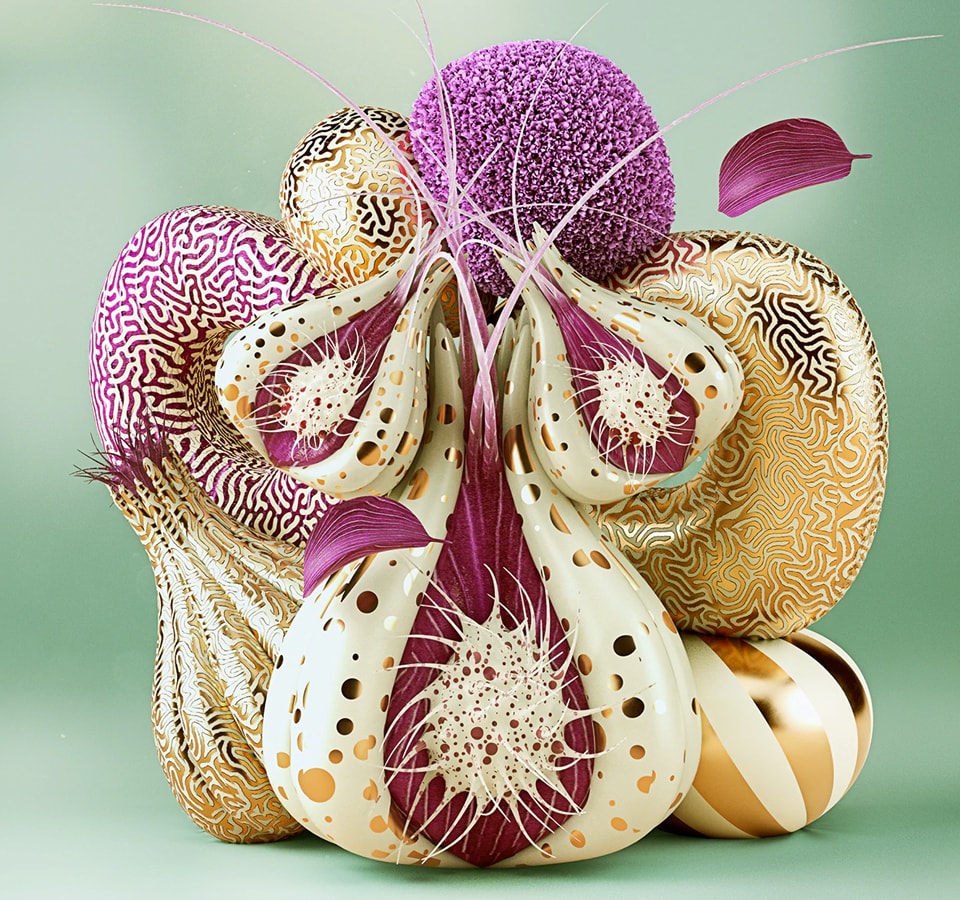
Image courtesy of Mariano Ramon
Insanely useful features
C4DtoA supports Arnold’s full feature set with tools built to help save you time and give you more “direct-ability” over lights, shaders, and other render effects, including:
- Arnold shading network editor for writing custom shaders
- Advanced toon shader
- Extensive AOV support
- Procedurals (stand-ins)
- Superior IPR performance
- Light manager
- Support for Thinking Particles, XParticles, Turbulence
- Adaptive sampling
Tools built to help save you time and give you more “direct-ability”:
- Arnold shading network editor
- Advanced toon shader
- Extensive AOV support
- Procedurals (stand-ins)
- Superior IPR performance
- Light manager
- and more
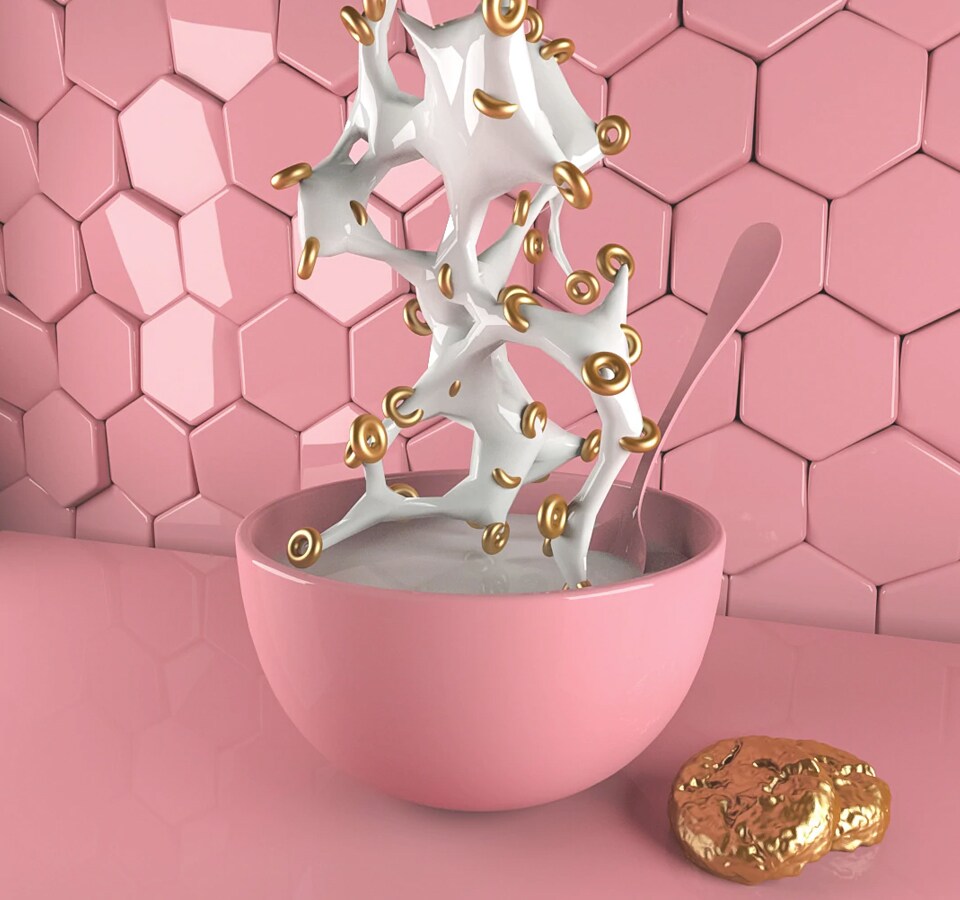
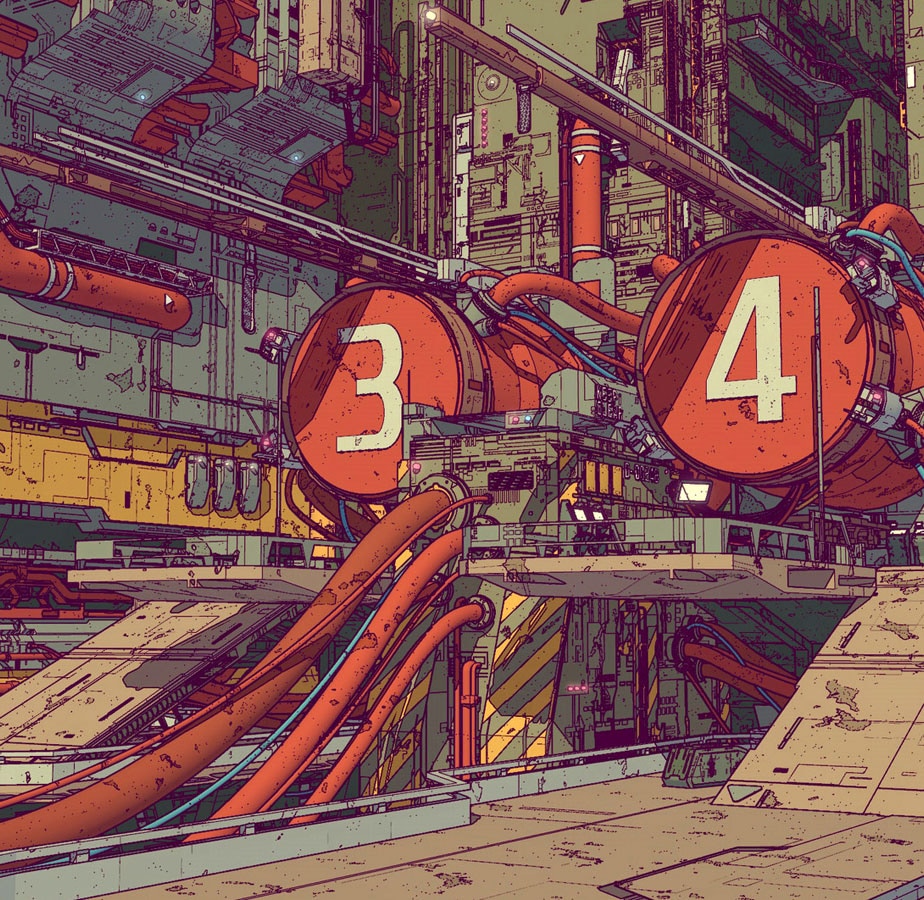
Image courtesy of @alicein3dland
Under the hood
Arnold Toon Shader breakdown for Cinema 4D
-
Under the hood
Arnold Toon Shader breakdown for Cinema 4D
Calder Moore
Surface artist at Atomic Cartoons
Surface/texture artist Calder Moore walks through the techniques he uses to create his stunning toon-like scenes in C4DtoA.
-
Under the hood / Step 01
First, change your renderer to the Arnold render in the render settings. To get the edge detection lines, change the default filter type to Contour filter. The lower the default width filter is, the thinner the line. In ray depth, drag total rays down to zero, so you don't get global illumination bounces. You can use any light with the toon shaders, I use a distant light for a globally-lit scene.
To create a toon shader, go to Create → Arnold → Surface → Toon Shader and apply to the scene objects.
First, change your renderer to the Arnold render in the render settings. To get the edge detection lines, change the default filter type to Contour filter. I use a distant light for a globally-lit scene. To create a toon shader, go to Create → Arnold → Surface → Toon Shader.
-
Under the hood / Step 02
To create the step look, grab the black node in the ramp RGB and change the Interpolation to Step. Start to bring back that white information in the gradient slider.
The tone mapping works by getting multiplied on top of the color channel in our base attribute. You can add in more gradient nodes to your color channel and really start to dial-in how you want your objects to look and feel.
To create the step look, grab the black node in the ramp RGB and change the Interpolation to Step. Start to bring back that white information in the gradient slider. The tone mapping works by getting multiplied on top of the color channel in our base attribute.
-
Under the hood / Step 03
The emission tab is where I like to do most of my material creation with the toon shader because it has more customizability than the base channel. You can blend the emission and the base colors together with the same color to blend and tone down the shadows.
The emission tab is where I like to do most of my material creation with the toon shader because it has more customizability than the base channel. You can blend the emission and the base colors together with the same color to blend and tone down the shadows.
-
Under the hood / Step 04
The edge detection drop-down is the most powerful part of the Arnold toon shader in my opinion, because it provides so much customizability for the silhouette and contour lines. It’s fun to try out different textures and settings to see what you can make with it. Try using C4D noises for a more organic feel. You can import masks to map out where you want your edges to be. I created some masks from the JSplacement application. It can create realistic-looking materials.
Other important attributes to consider are the angle threshold in the edge detection channel and the texture attached to the mask color channel. Play with the multiply attribute in your texture node (or run through a gradient node) to adjust how the edge detection gets applied.
The edge detection drop-down is the most powerful part of the Arnold toon shader in my opinion. You can import masks to map out where you want your edges to be. Other important attributes to consider are the angle threshold in the edge detection channel and the texture attached to the mask color channel.
-
Under the hood / Step 05
You can customize the specular channel by bringing mixing ramps together to fine-tune the look you want.
You can customize the specular channel by bringing mixing ramps together to fine-tune the look you want.
-
Under the hood / Step 06
The stylized highlight is a quick way of doing tone mapping, but it needs a light to plug into it. If you use the stylized highlight, it tells the specular highlight not to work, unless you bring down the weight.
The stylized highlight is a quick way of doing tone mapping, but it needs a light to plug into it. If you use the stylized highlight, it tells the specular highlight not to work, unless you bring down the weight.
-
Under the hood / Step 07
In the rim lighting channel, the more you bring in your width, the more it wraps around your object based on the opposite of your camera. Also, you can mask out what you want the room lighting effect to be by using a light in the room light option.
In the rim lighting channel, the more you bring in your width, the more it wraps around your object based on the opposite of your camera. Also, you can mask out what you want the room lighting effect to be by using a light in the room light option.
-
Under the hood / Step 08
The geometry tab is where you'll plug in your normal mapping and your bump maps to affect your objects and material. Take note when you apply a bump/normal map to it the edge detection is affected. Use this to your advantage to further customize your contour lines.
The geometry tab is where you'll plug in your normal mapping and your bump maps to affect your objects and material. Take note when you apply a bump/normal map to it the edge detection is affected. Use this to your advantage to further customize your contour lines.
-
Under the hood / Step 09
All in all, the best thing you can do with the toon shader is just mess around with it! Try using the nodes in unique ways, use camera projection, and play with all the settings. A fun way to play with it is to find a 2D look and try to mimic it. This will start to give you a good understanding of how to use the shader for what you want out of it and not just copy a tutorial setting by setting. Tutorials only really teach you how to make specific things but if you play around with it yourself, you’ll really learn how to use it.
To learn more, watch the full Arnold Toon Shader tutorial.
All in all, the best thing you can do with the toon shader is just mess around with it! Tutorials only really teach you how to make specific things but if you play around with it yourself, you’ll really learn how to use it.


Join the community
Need help? With in-depth documentation, a responsive development team and a supportive community ready to answer your questions, you’ll be on your way to creating amazing things.
Need help? We have in-depth documentation, a responsive development team, and a supportive community ready to answer your questions.

Image courtesy of Mariano Ramon

Image courtesy of Nidia Dias

Image courtesy of Mariano Ramon

Image courtesy of Mariano Ramon

Image courtesy of Mariano Ramon
Get Arnold
Ready to get your hands on the best-looking 3D renderer? Try C4DtoA for 30 days free.

Sign up for the newsletter
Find out what’s new with Arnold. We’ll send you the occasional email when we've got new tutorials or product updates for you.